1. Car Organizer
What you need:
Gorgeous fabric (if it's not pretty, just stop now)
Ribbon
Elastic (I used 1/2")
Seat measurements (these do not have to be precise but you want to make sure it's the right proportions to the seat)
Poster board (mine was not too thick, just enough to give it some "back bone")
Awesome tunes
Brownies and milk (these can be exchanged for a sweet of your choice)
First, you may ask why I didn't just go to my local store and buy one for $11. Well, I maybe could find something similar to what I wanted but even if I did I would be paying triple what its worth. And then there's the satisfaction of making something yourself~ you just can't beat it. I looked at several ideas on Pinterest and then just went for it. I have had this fabric for ages and just never could settle on what to use it for. It was the first thing that came to mind when I decided to make a car organizer because it's both boyish and neutral (so it doesn't draw too much attention in the car- it is utilitarian after all). To starts things off, if I can do this, ANYONE can do this. No I'm serious. Check out my "work station"...
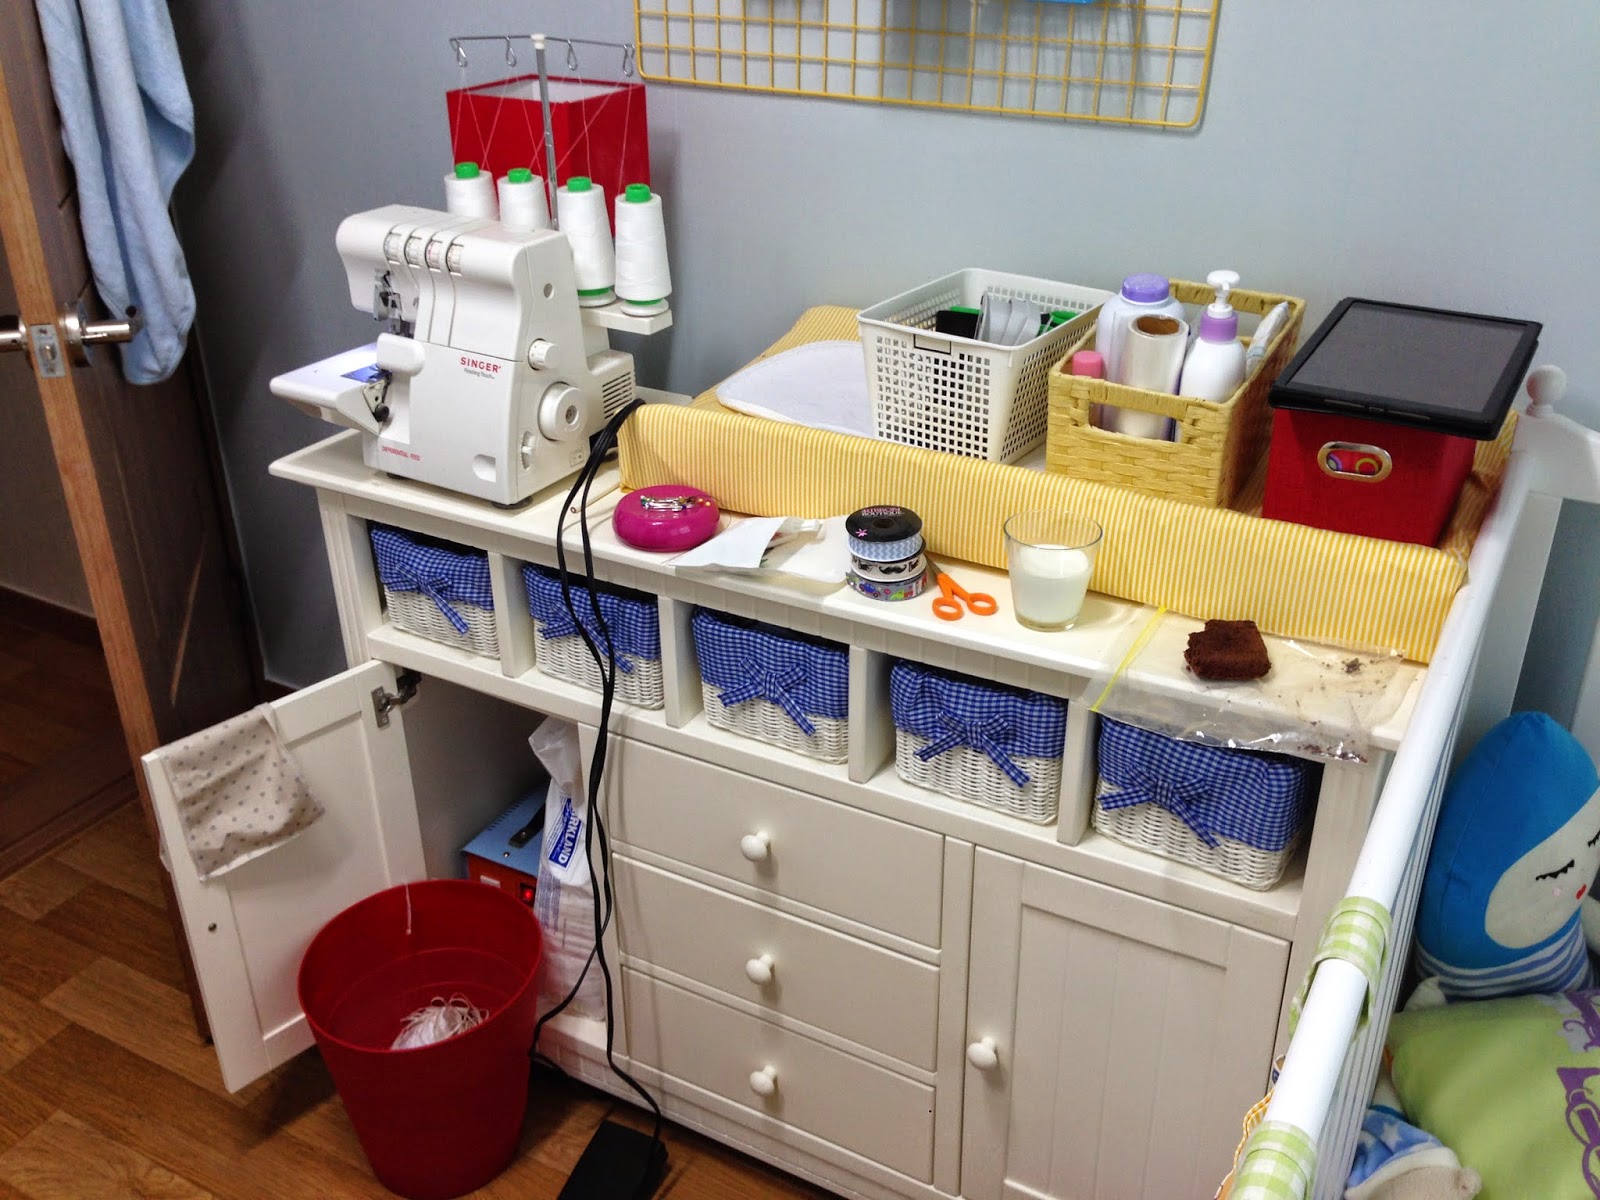
(yes, the brownie and milk are vital to the outcome of this project)
Basically I put James down for his nap on my bed so I could take over his room because it's where the power converter is located (gotta love 110 in a 240 country). That means this whole project took me 2 hours... that's right. Reason #2 that anyone can do it. So I started out serging all my edges but if you don't happen to have a serger, just press the edges down and do a simple stitch to keep them from unraveling and looking yucky. Next, I tacked the adorable chevron ribbon that I have been saving for just such a project and sewed it on the edge of the pockets that I would be assembling.


I wanted to have shallow pockets at the top for toys and things like that so I marked lines for four small pockets. The next row had two large pockets and the bottom had three medium pockets (variety is the spice of life after all). And voila! I'm almost finished...


It's time to attach the elastic band that goes around the lower part of the seat. This will wrap around the back but needs to be sewn on the front (It will make sense later... or not, in which case just stop what you're doing and go get some ice cream. You'll be happier in the end). You can go ahead and make the "neck" strap that will go around the headrest. It's a bit like making an apron at this point. Sew the fabric together good side facing each other (keeping one edge undone) and then turn right side out. Sew the last edge closed.


Now you are beginning to put things together. Place the other piece of fabric over the pocket-piece good side facing each other and sew three sides leaving the top open. Insert the poster board. Mine was a little smaller than needed which I preferred because I wanted it to remain pliable and the pockets spacious. Press the top edges and tack the neck strap in place to sew the top closed.


Yes, that's my leg propped up on the wall. You get creative when you don't have a sewing table :)
And the finished project!!! I honestly didn't think it would turn out as good as it did, but I'm thrilled with the final result. The only thing I would do differently was have a little more room to spare on each side and the neck strap. The pockets are a bit snug but I think they will do the trick. Never again will we be stranded with no toys or clean diapers and wipes!
(After the first ride, I moved the organizer to the other seat back because it just so happened to be at a perfect kicking spot for James. Now it's safely on the other side and is in better reach for mom in the passenger seat.


2. iPad/iPhone car holder
What you need:
Fabric (I wanted mine to match my super cool car organizer so I used the same fabric)
Elastic (1/4" for the edges and 1/2" for the back straps)
Card board cut outs of iPad and iPhone
I had just finished the car organizer and really didn't think this one was going to go well. I followed a tutorial on Pinterest but changed all the measurements because I was making it for the iPad Air. Also, I decided I wanted a 2-in-1 since sometimes I use my phone in the car instead of the iPad but I didn't want to have to mess with changing them out.
First, cut your fabric to match your cut out (leaving a little extra on the sides) and small squares (3 1/2"x 3 1/2" for the iPad). Fold the small squares into triangles leaving the good side out. Tack these onto the bottom corners to made the base holders. Tack the 1/4" elastic at the top corners and the 1/2" elastic for the back straps. Again, these will be in the back but for now, sew them in the front. I skipped some pictures... sorry about that. Just do similar to the organizer in that you will put the other fabric over the pocket side and sew three sides leaving the top open. Place your cardboard inside the pocket and stitch the top shut.


I must say I was a bit shocked that it turned out as well as it did! Now, here is where it got interesting... Now that I had the iPad case, I wanted to just put the iPhone case inside the bigger one. So, just make the phone case the same way as the other, just on a smaller scale. I actually had to hand stitch the top on this one because it was too close to use the sewing machine. With the 1/2" elastic, I measured how much I needed to go around the iPad case itself so that I could just attach this. Total time for this project was only about an hour so al together I spent less than 4 hours on both these projects. I call that a win.


And there you have it... 2-in-1 iPad/iPhone holder for the headrest of your car! How fun was that?! Are they perfect? Absolutely not. Was it fun to make my own stuff? You bet it was.
No comments:
Post a Comment